小伙伴们知道AutoCAD2020如何设置半径注释吗?今天小编就来讲解AutoCAD2020设置半径注释的方法,感兴趣的快跟小编一起来看看吧,希望能够帮助到大家呢。
第一步:打开AutoCAD2020(如图所示)。

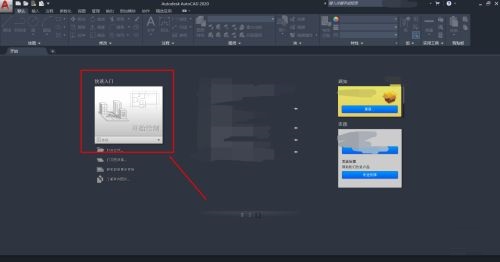
第二步:进入CAD2020编辑界面,选择“开始绘制”(如图所示)。
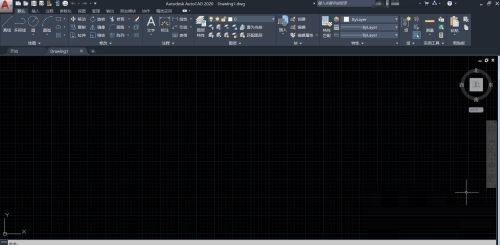
第三步:进入CAD2020设计界面(如图所示)。
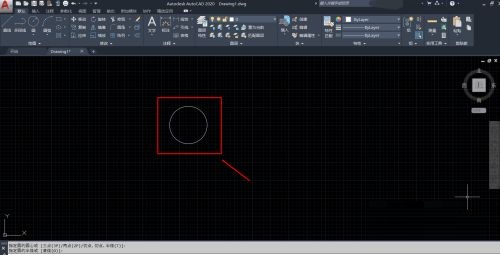
第四步:编辑一个任意的圆(如图所示)。
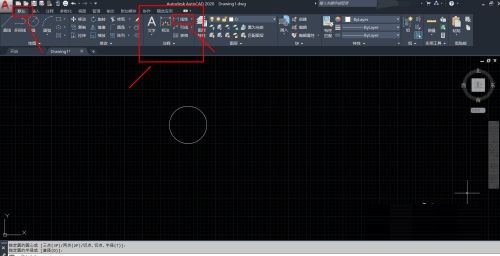
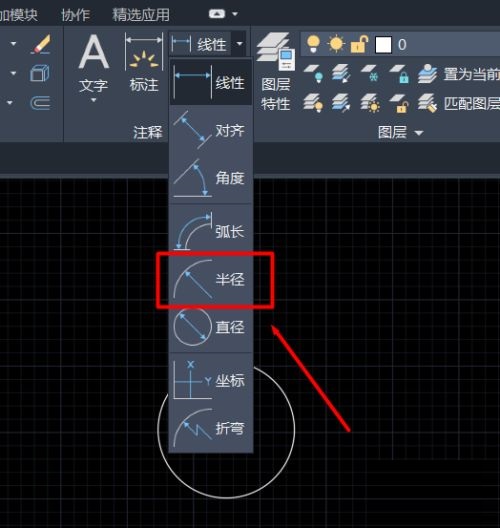
第五步:选择“默认”菜单栏下的“注释”中的“线性”下三角图标(如图所示)。
第六步:在“线性”下拉菜单中选择“半径”(如图所示)。
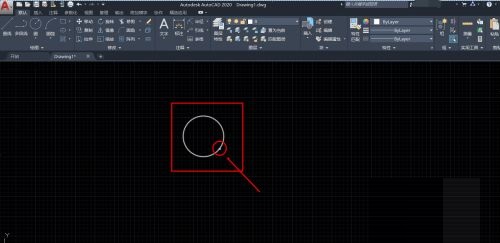
第七步:鼠标变成“小方块”型,选中“圆”,点击鼠标(如图所示)。
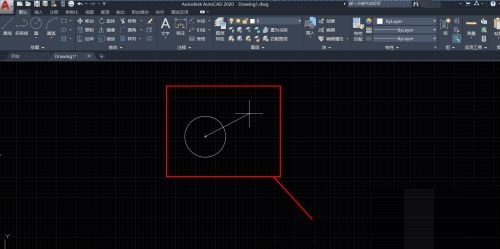
第八步:选择指向的方向(如图所示)。
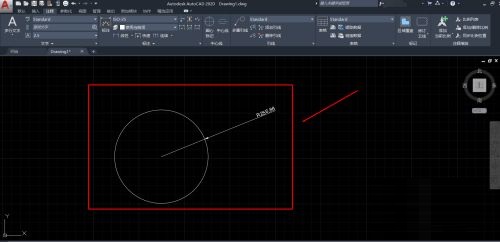
第九步:通过“注释”菜单栏下的标注属性来更改相应的文字大小及箭头的大小(如图所示)。
- Win10如何更改默认安装路径?Win10更改默认安装路径教程
- 如何用Google翻译网页?Google翻译网页教程
- Win10系统temp文件夹如何删除?
- Win10设置闪退怎么办?Win10设置闪退修复方法
- Win10开机桌面上只有磁贴,没有图标怎么回事?
- Win11设置的位置在哪?Win11设置的位置及打开方法
- Win11系统设置打不开怎么办?Win11系统设置打不开解决方法
- Win11如何把右键设置到首选?Win11右键把刷新设置到首选的方法
- Win10怎么关闭实时防护?Win10关闭实时防护的步骤教程
- Win10怎么关闭数字签名?Win10关闭数字签名的步骤教程
- Win10快速访问如何设置?Win10快速访问设置方法介绍
- 微软应用商店下载路径和安装路径在哪?
- 英伟达显卡驱动程序登陆提示:验证程序加载失败请检查您的浏览器设置例如广告拦
- MoUsoCoreWorker.exe和dwm.exe引发虚拟内存不足导致其他程序崩溃怎么办?
- 使用Win11 PC Health Check提示“组织在此电脑上管理更新”如何解决?
- 微软KB5004745为用户带来了什么新的改进?全新系统对话框上线
- 你的主板支持升级Win11吗?各大厂商公布兼容Win11主板汇总
- Win10家庭版从1909更新到21H1提示0x80070002怎么办?
- Win11怎么设置系统时间?win11设置系统时间的方法
- Win10创建TLS客户端出现严重错误怎么办?内部错误状态为10013怎么办?
- WeGame一打开就闪退怎么办?Wegame为什么打开就闪退?
- Win11怎么删除小组件?win11中删除小组件的方法
- Win11如何添加应用图标?win11添加应用图标的方法
- 电脑蓝屏system_service_exception怎么办?
- 剪映电脑版视频如何添加定位图标?剪映添加定图图标的方法
- 费用报销管理制度
- 雨露计划申请表模板
- 分公司管理制度
- 优秀团员申请表模板
- 讨鬼传极
- 特勤机甲队4
- 特种神枪手3
- 异形虫历险记2
- 异形2
- 腾讯软件管家
- 只狼影逝二度艾尔登法环白狼套装MOD v3.39
- 只狼影逝二度艾尔登法环梅丽娜替换主角MOD v1.79
- 只狼影逝二度艾尔登法环打刀MOD v1.55
- 蜘蛛侠迈尔斯莫拉莱斯阿根廷夺冠壁画MOD v3.85
- 我的世界rlcraft汉化补丁 v1.12.2
- 师父女性外观闪乱神月飞鸟MOD v2.16
- 只狼影逝二度艾尔登法环使命短刀MOD v3.21
- 怪物猎人崛起曙光EBB健美索尼克套装v3.0MOD v2.85
- 魔法少女小圆战斗五芒星汉化补丁 v1.0
- rlcraft服务器整合包 v1.12.2
- muster point
- must-have
- mustn't
- musty
- mutant
- mutate
- mutation
- mute
- muted
- mute swan
- 喵了个咪
- 浮城
- 一只河狸的幸福生活/我的野生动物邻居
- 荒原守望者土拨鼠/我的野生动物邻居
- 从战争到战争/世界大战丛书
- 阳光家族校园派(水滴派)
- 阳光家族校园派(星光派)
- 临床常用和特殊验光理论与方法
- 花间集(插图本增订版)/家藏四库
- 诡味少女(上中下)
- [BT下载][锁红颜][短剧][第01-10集][WEB-MKV/3.47G][国语配音/中文字幕][4K-2160P][H265][流媒体][ZeroTV]
- [BT下载][乡村爱情][全30集][WEB-MKV/17.16G][国语配音/中文字幕][1080P][流媒体][ZeroTV]
- [BT下载][吞噬星空][第94集][WEB-MKV/1.84G][国语配音/中文字幕][4K-2160P][H265][流媒体][ZeroTV]
- [BT下载][有爱.第二季][全06集][WEB-MKV/41.77G][简繁英字幕][4K-2160P][HDR版本][H265][流媒体][ZeroTV]
- [BT????][??????.?????][??13-18??][WEB-MKV/27.41G][??????][4K-2160P][??????汾][H265][??y?
- [BT下载][欲望都市.第六季][第13-18集][WEB-MKV/27.38G][简繁英字幕][4K-2160P][HDR+杜比视界双版本][H265]
- [BT下载][白月梵星][第20-21集][WEB-MKV/1.58G][中文字幕][1080P][流媒体][ZeroTV]
- [BT下载][白月梵星][第20-21集][WEB-MKV/2.46G][国语音轨/简繁英字幕][4K-2160P][H265][流媒体][MiniTV]
- [BT下载][白月梵星][第20-21集][WEB-MKV/3.82G][中文字幕][4K-2160P][60帧率][H265][流媒体][ZeroTV]
- [BT下载][真心英雄][第27集][WEB-MKV/1.63G][国语配音/中文字幕][4K-2160P][60帧率][H265][流媒体][ZeroTV]