Windows11不支持7代CPU怎么办?安装Win11的硬件要求中包括电脑必须满足TPM2.0和安全启动才能正常安装windows11系统,由于7代cpu机器无法支持这两项,所以按理来说是没有办法安装Win11系统的,但是今天小编教给大家一个方法,可以利用U盘安装win11绕过TPM2.0检测,下面就教大家详细的步骤。

在安装系统前,请注意备份C盘上的重要数据,系统重装会重置C盘,建议提前转移个人资料并备份硬件驱动。下面推荐用U盘的方式可跳过TPM2.0的检测。
准备工具:
一个大于等于8GB的U盘。
一台联网的电脑。
注意事项:安装win11系统的电脑安装时注意引导模式和分区对应,legacy+mbr或uefi+gpt,否则安装后可能引导不了。
一、制作U盘启动工具:
1、首先,我们需要下载系统之家自研支持安装Windows11的U盘启动工具【系统之家U盘装机大师】
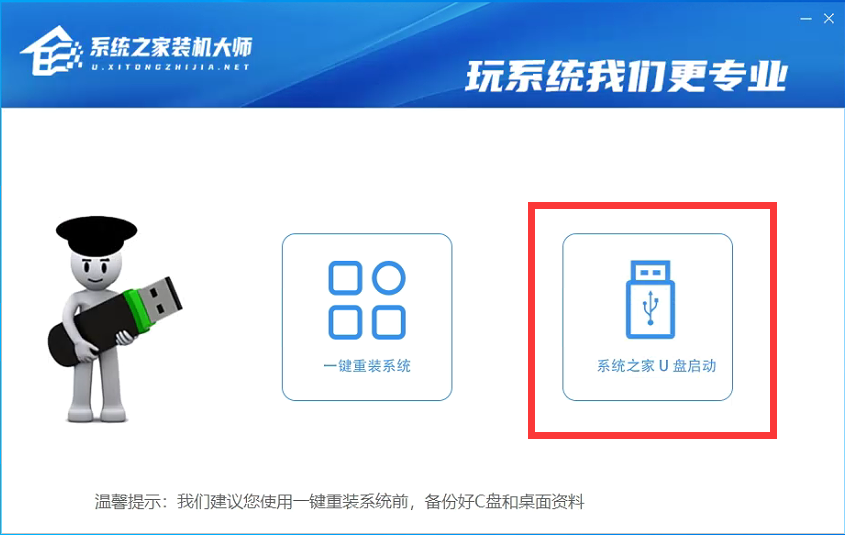
2、下载完成后运行,选择【系统之家U盘启动】,准备制作U盘启动工具。
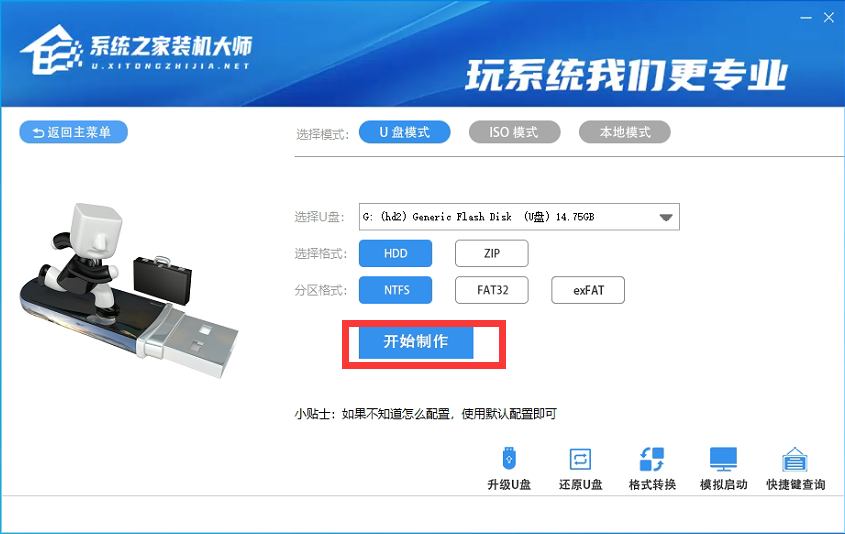
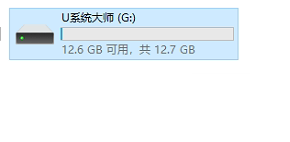
3、选择我们的U盘,其他格式默认即可。然后点击【开始制作】。
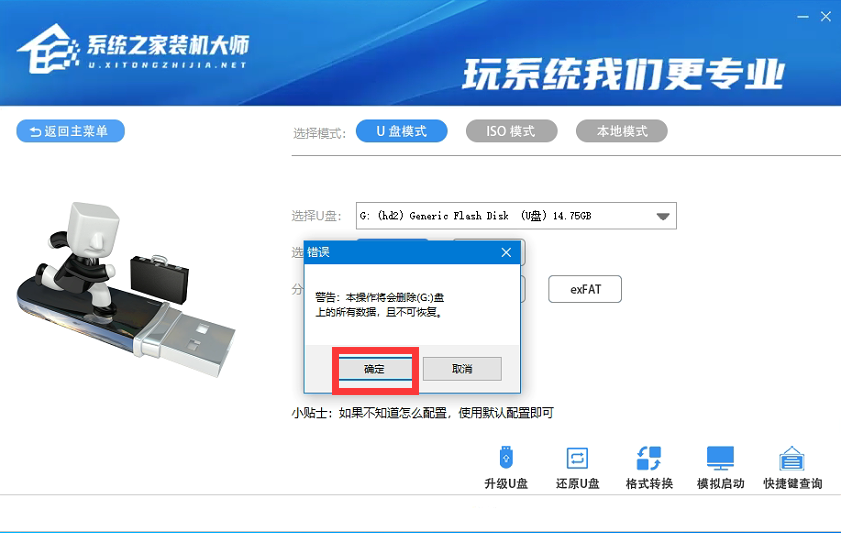
4、注意:制作U盘启动工具会清空U盘中所有的数据文件,如有重要文件需要提前备份。
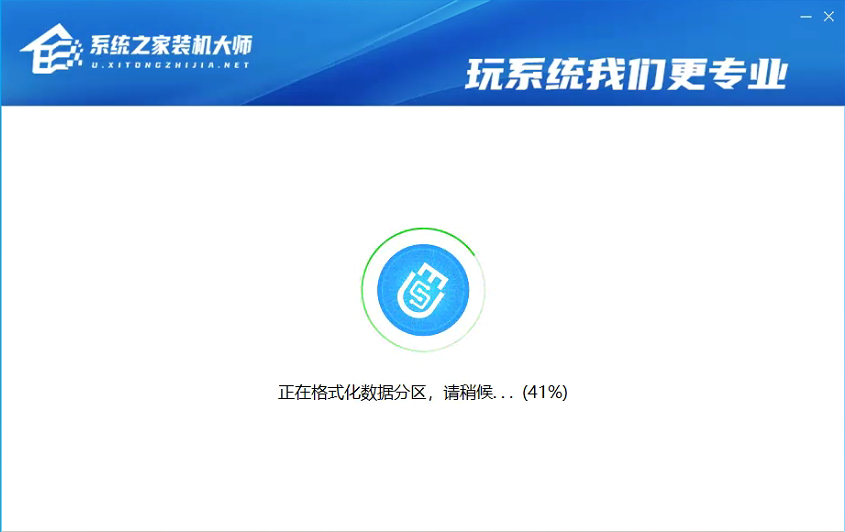
37. 你有点灵气,我有点傻气;你有点秀气,我有点土气;你有点香气,我有点烟气;如果你生气,我不会发脾气。 5、等待U盘启动工具制作完毕就可以了!
到此,我们的U盘启动盘就制作完成了。
二、修改BIOS,将U盘设置为电脑的第一启动项:
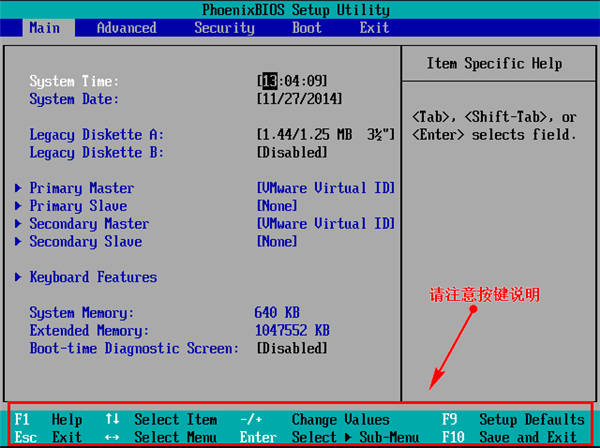
1、查看自己的电脑BIOS启动快捷键,随后就会进入BIOS界面,在该界面我们需要了解以下几个重要的操作方法:通过键盘上的方向键进行光标移动;回车键表示“确定”;F10表示“保存并退出”。具体以BIOS界面上的说明为准。如图所示:
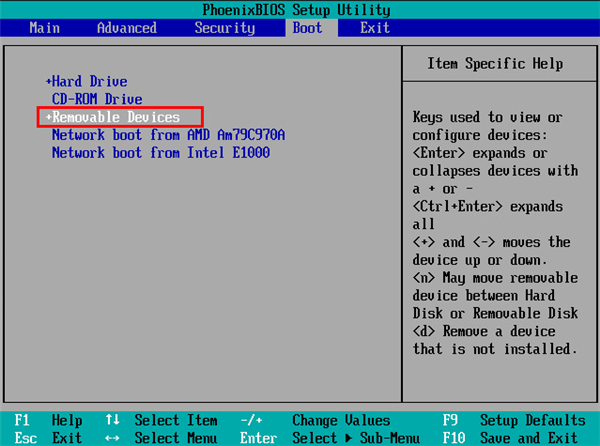
2、进入BIOS界面后,我们移动光标到“boot”,然后找到我们U盘的选项(不同电脑显示略有不同,一般会显示U盘品牌名称或者是以USB开头),小编这里显示的是“removable device”,意思为“可移动设备”,如图所示:
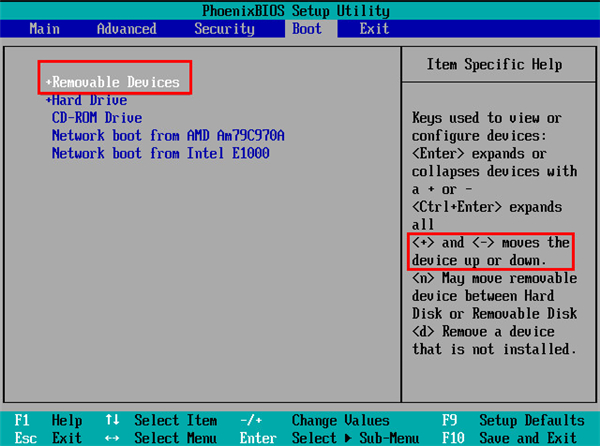
3、查看说明,按+键实现向上移动,我们需要将“removable device”移到最上面,这样才能实现从U盘启动,如图所示:
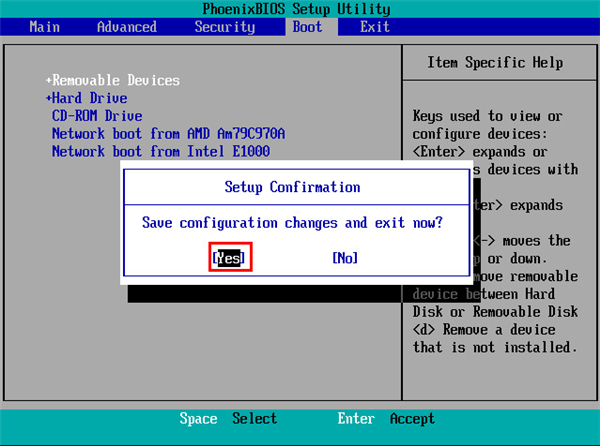
4、设置完成后,我们按下F10,弹窗中我们选择“yes”,回车键确定即可,重启后就能够实现从U盘启动了,如图所示:
三、进入PE,安装Windows11:
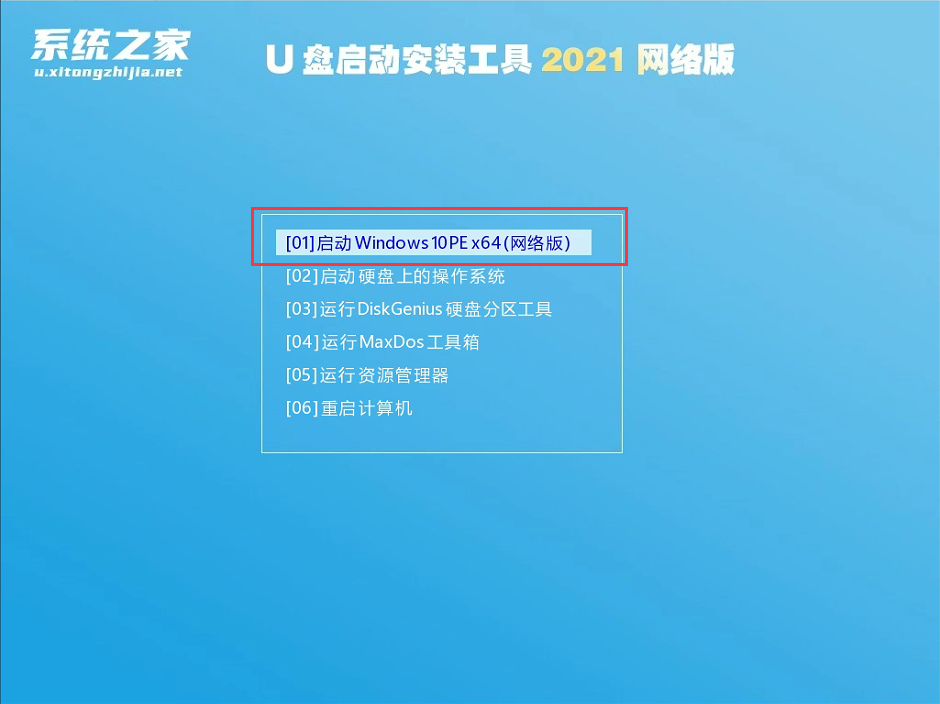
1、进入PE后我们可以通过键盘中的↑↓键,选择【01】启动Windows10PE x64(网络版)进入。
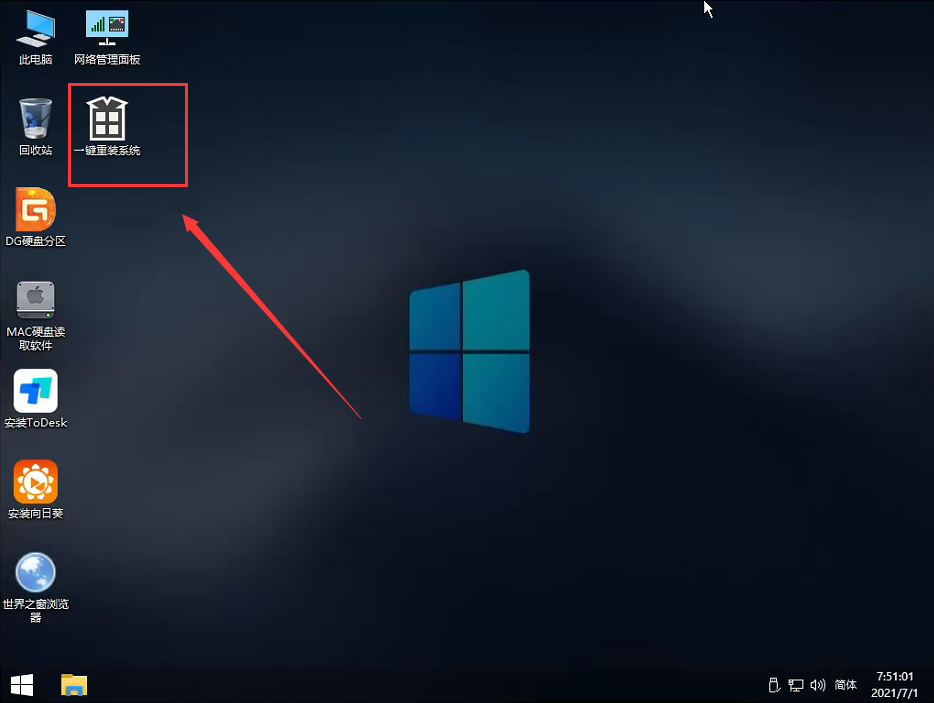
2、进入PE系统后,我们可以直接运行【一键重装电脑系统】。
3、启动程序后,首先选择我们的Windows11的ISO镜像文件,也可以选择ISO中的win11.gho,之后选择系统安装的盘符,一般安装在系统C盘中。
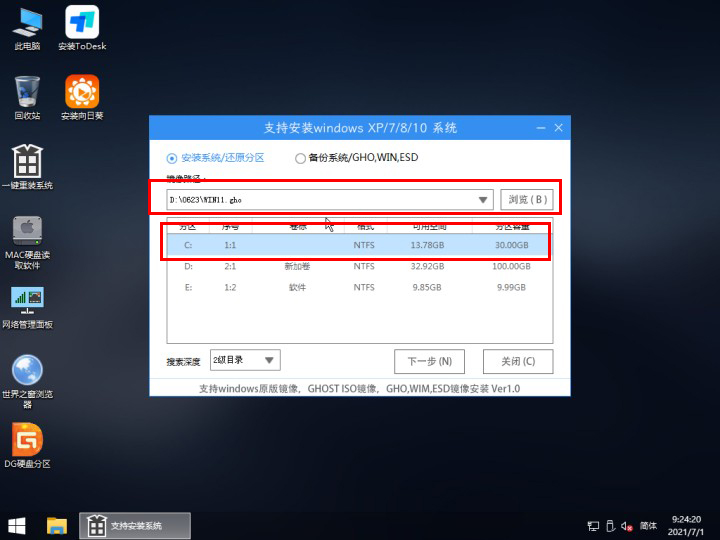
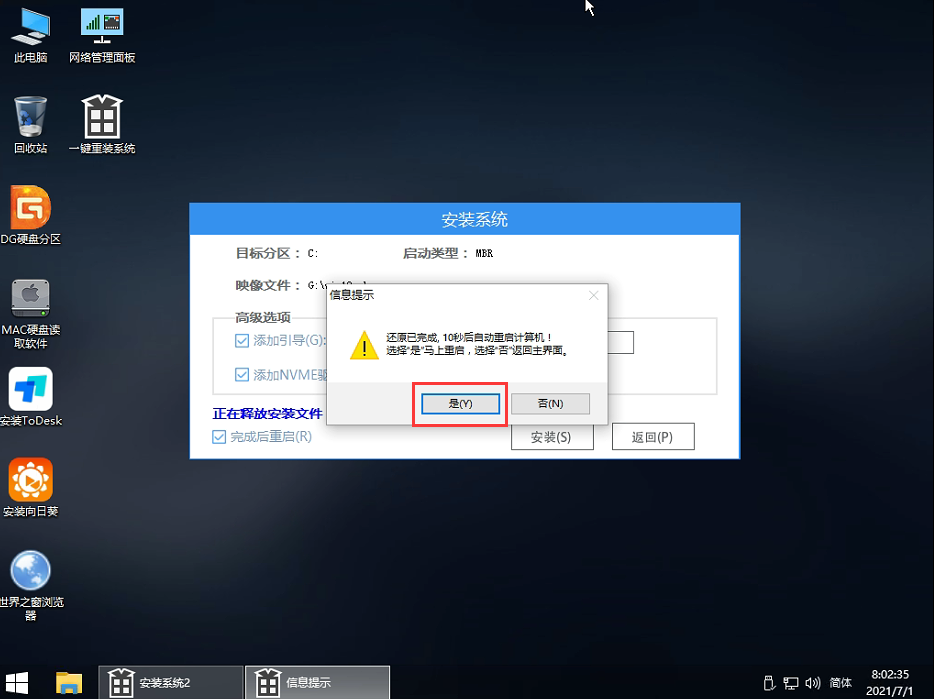
4、点击【下一步】就进入到我们的系统备份中。
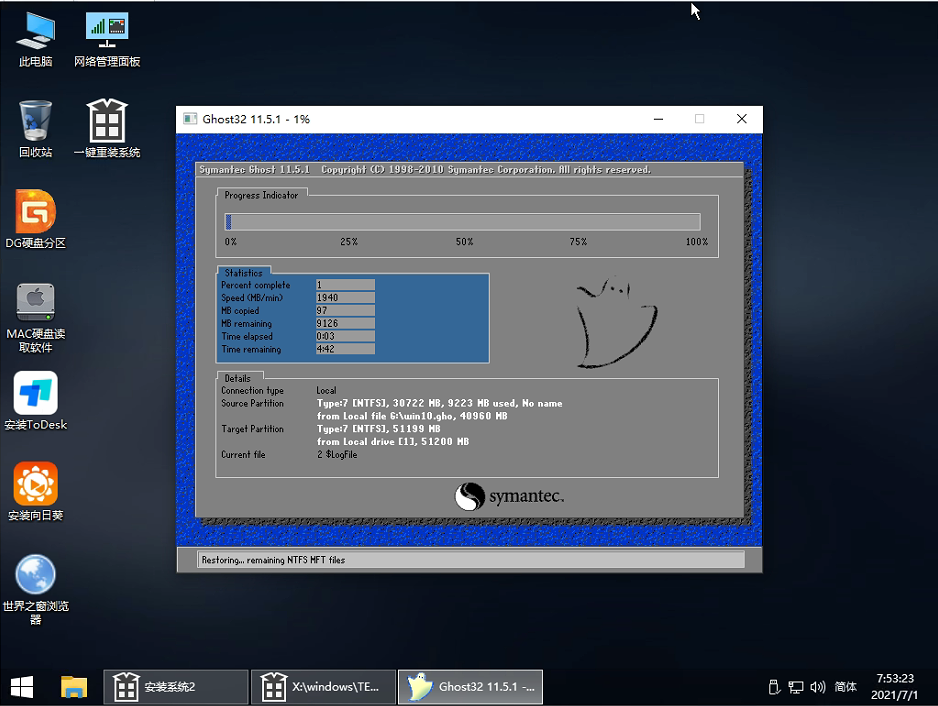
5、拔掉U盘电脑重启后,系统会自动完成后续的程序安装,直到看到桌面,系统就彻底安装成功了。这种方法可以直接跳过TPM的检测而达到安装WIN11系统的目地,但建议配置太低的电脑不要安装win11,特别注意win11系统需要uefi启动才能安装。
Windows11不支持7代cpu 7代cpu怎么安装Win11座无虚席洪水猛百鸟归林兽44. 旧的经济发展方式主要是是通过廉价劳动力,而新的经济发展方式是经济转型升级的创新发展。37. Since he went to senior high school, he has worked very hard.335.近水楼台先得月,向阳花木易为春。俞文豹《清夜录》 离肠未语先断,算犹有凭高望眼。更那堪衰草边天,飞梅弄晚。中军置酒饮归客,胡琴琵琶与羌笛。7代cpu怎么安装Win11Without knowing the extent and nature of the damage resulting from the bad publicity or the reason for the violation, we cannot accept the author’s conclusion.
- 闪传怎么面对面传图片?闪传面对面传图片的方法
- 线刷宝如何root?线刷宝root的方法教程
- vs2013怎么让绘制图形变文字?vs2013让绘制图形变成文字的方法步骤
- 高考直通车怎么添加考试成绩?高考直通车添加考试成绩的方法
- 美食杰怎么上传作品?美食杰上传作品的方法
- 抖音西瓜头吐西瓜籽如何拍摄?抖音西瓜头吐西瓜籽的拍摄方法
- 简影怎么分享朋友圈?简影分享朋友圈的方法
- mindmaster怎么删除背景水印?mindmaster删除背景水印的方法
- Creo5.0如何制作钣金的圆角?Creo5.0制作钣金圆角的操作步骤
- Microsoft Office Visio如何设置背景颜色?Microsoft Office Visio设置背景颜色的方法步骤
- Foxmail如何导出黑名单邮箱地址?Foxmail导出黑名单邮箱地址的方法步骤
- dreamweaver cs6中如何删除站点?dreamweaver cs6中删除站点的方法步骤
- dreamweaver cs6如何设置自定义返回步数?dreamweaver cs6设置自定义返回步数的方法教程
- arctime时间轴如何整体平移缩放?arctime让时间轴整体平移缩放的操作方法
- 影音转霸如何去水印去字幕?影音转霸去水印去字幕的方法
- 影音转霸怎么做画中画?影音转霸做画中画的方法
- 影音转霸怎么合并视频?影音转霸合并视频的方法
- 101教育PPT如何新建习题?101教育PPT新建习题的方法
- 电脑老是自动关机怎么办?电脑老是自动关机的处理方法
- Win8系统命令提示符不见了怎么解决?
- 淘宝怎么看等级?淘宝看等级的方法
- word2019如何设置纸张方向?word2019设置纸张方向的操作步骤
- 手机淘宝分享之手怎么用?手机淘宝分享之手使用的方法
- Win8怎么移动磁贴?Win8磁贴设置方法
- eclipse怎么设置编码方式?eclipse设置编码的方法
- 装甲明朝体
- 烈焰之痕
- 坦克世界:闪电战
- 源样明体
- 亡灵法师的旅程
- 源流明体
- 源云明体
- 动物爆破
- 贤二体
- 全民疯狂射射射
- 刺客信条枭雄伦敦存档 v2.0
- 柚子游戏安卓模拟器 v2.1.0
- 真人快打X全收集完美存档 v2.0
- 真人快打X宝箱全开通关存档 v2.0
- 使命召唤12老兵难度通关全解锁存档 v2.0
- 圣斗士星矢斗士之魂完美收藏存档 v2.0
- 死亡空间3通关存档 v2.0
- 铲子骑士全通关存档 v2.0
- 星球大战前线语言切换工具 v2.0
- 死亡空间393%完成度关卡和全收集存档 v2.0
- Benedictine
- benedictine
- benediction
- benefactor
- beneficent
- beneficial
- beneficiary
- benefit
- benefit concert
- benefits package
- 数学(4上BSD)/期末闯关
- 中国哲学通史(古代科学哲学卷学术版)(精)
- 神经外科手册(原著第9版)(精)
- 政治(道德与法治初中版各年级通用升级版6.0)/衡水重点中学状元手写笔记
- 小学语文默写能手(4上RJ版)
- 没有人像你
- 从耕者有其田到乡村振兴--中国特色三农道路的探索与发展/中国共产党百年奋进研究丛书
- 何绍基金陵杂述四十绝句/彩色放大本中国著名碑帖
- 小王子(汉日版)(精)
- 春莺来信
- [BT下载][声优广播的幕前幕后][第12集][WEB-MKV/1.35G][简繁英字幕][1080P][流媒体][ZeroTV] 剧集 2024 日本 动画 连载
- [BT下载][上有老下有小][第01集][WEB-MP4/0.80G][国语配音/中文字幕][1080P][流媒体][ZeroTV] 剧集 2024 大陆 剧情 连载
- [BT下载][但愿人长久][第35-36集][WEB-MP4/0.52G][国语配音/中文字幕][1080P][H265][流媒体][ZeroTV] 剧集 2024 大陆 剧情 连载
- [BT下载][但愿人长久][第35-36集][WEB-MKV/1.58G][国语配音/中文字幕][4K-2160P][H265][流媒体][ZeroTV] 剧集 2024 大陆 剧情 连载
- [BT下载][澳门街][第03-04集][WEB-MKV/3.68G][国粤多音轨/中文字幕][4K-2160P][H265][流媒体][ParkTV] 剧集 更 早 香港 剧情 连载
- [BT下载][双生炽爱][全24集][WEB-MP4/35.55G][国语配音/中文字幕][4K-2160P][60帧率][H265][流媒体][ParkTV] 剧集 2024 大陆 剧情 打包
- [BT下载][喜欢你我也是 第五季][第11-12集][WEB-MKV/1.37G][国语配音/中文字幕][1080P][流媒体][LelveTV] 剧集 2024 大陆 爱情 连载
- [BT下载][喜欢你我也是 第五季][第11-12集][WEB-MKV/4.42G][国语配音/中文字幕][4K-2160P][H265][流媒体][Lelve 剧集 2024 大陆 爱情 连载
- [BT下载][声优广播的幕前幕后][第12集][WEB-MKV/0.86G][中文字幕][1080P][流媒体][ParkTV] 剧集 2024 日本 动画 连载
- [BT下载][天下正道][全50集][WEB-MKV/53.43G][国语配音/中文字幕][4K-2160P][H265][流媒体][ParkTV] 剧集 2023 大陆 剧情 打包