怎么用石大师重装Win10系统?目前用的比较多的是U盘安装系统。小伙伴们知道系统重装用什么装机工具好吗,还有安装划分范围的扩展,那今天小编就给大家带来石大师u盘重装系统win10步骤和详细教程。重新系统范围划分有分为光盘安装、虚拟光驱安装、U盘安装、在硬盘上直接安装等。需要重新系统的朋友快来体验。
准备工作:
1、U盘一个(尽量使用8G以上的U盘)。
2、下载U盘启动盘制作工具:石大师(http://www.xitongzhijia.net/soft/234621.html)。
3、一台正常联网可使用的电脑。
U盘启动盘制作步骤:
1、运行“石大师一键重装”点击“我知道了”。

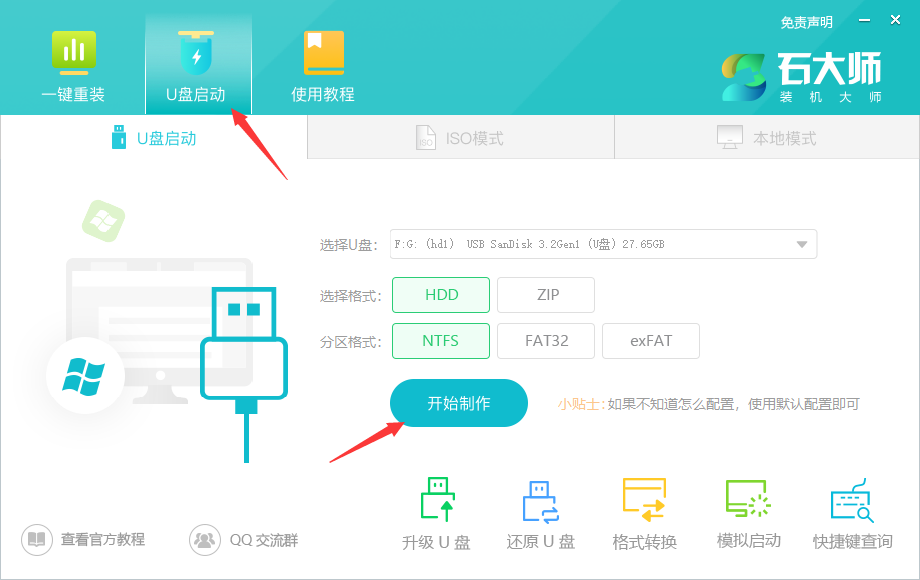
2、选择“U盘启动”点击“开始制作”。
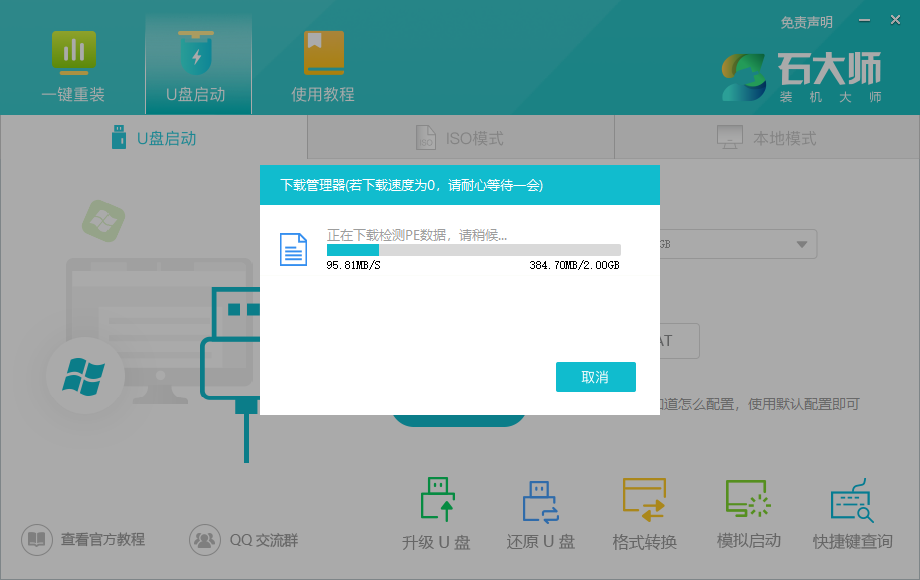
3、正在下载U盘启动工具制作时所需的组件,请耐心等待。
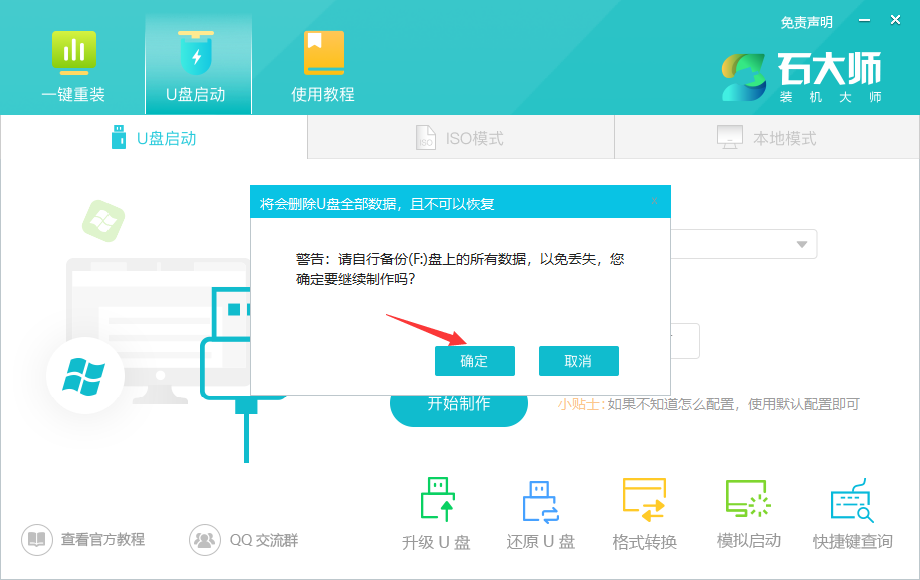
4、跳出提示备份U盘内重要资料,如无需备份,点击“确定”。
5、选择自己想要安装的系统镜像,点击“下载系统并制作”,本软件提供的系统为原版系统(也可选择取消下载系统制作)。

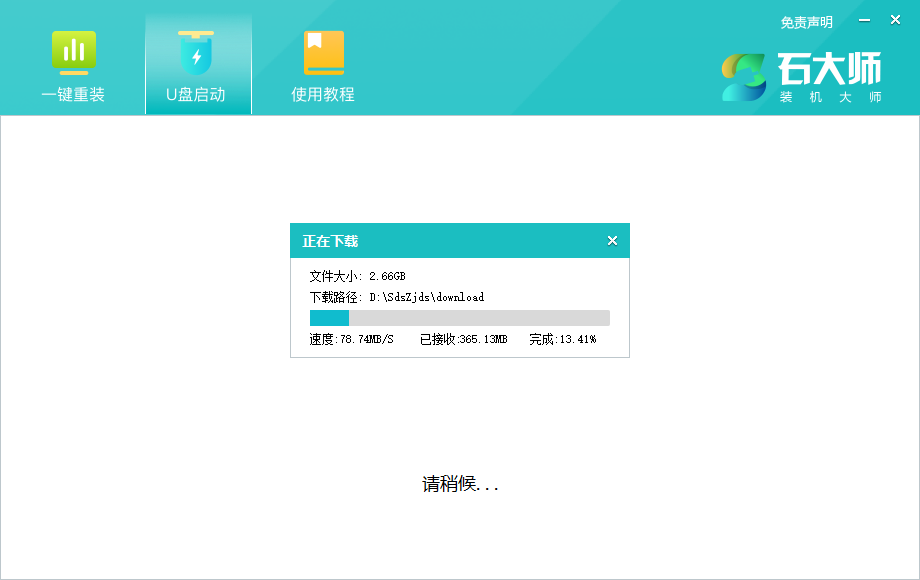
6、正在下载系统镜像,请勿关闭软件。
7、正在制作U盘启动工具。

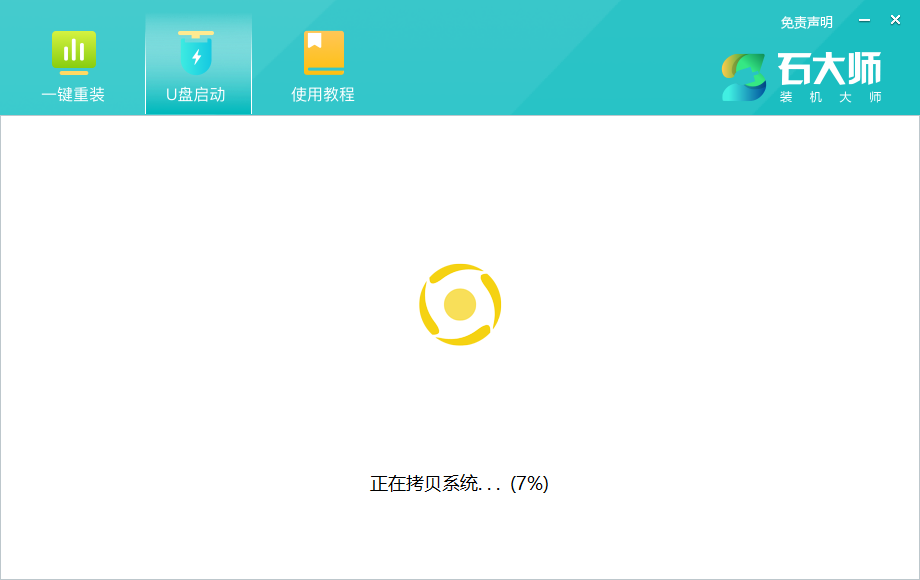
8、正在拷备系统镜像到U盘。
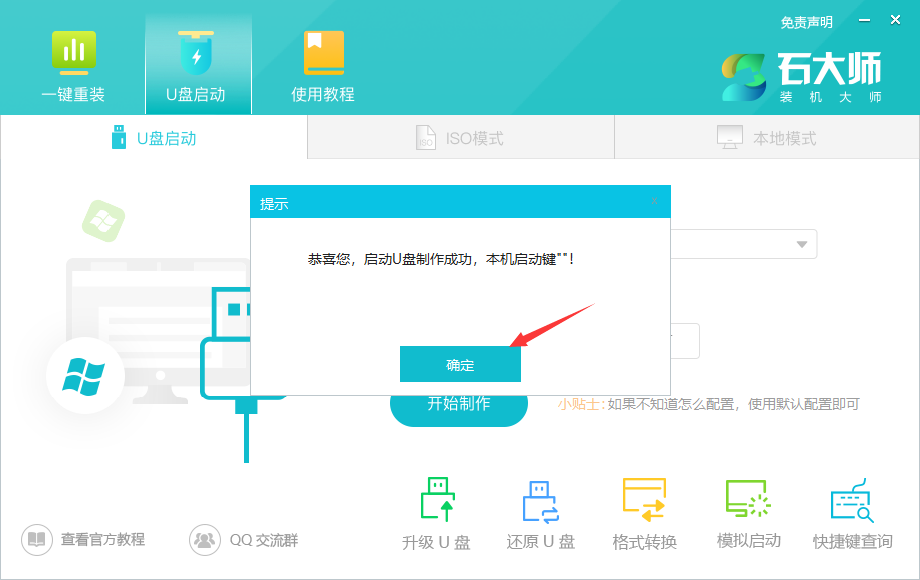
9、提示制作完成,点击“确定”。
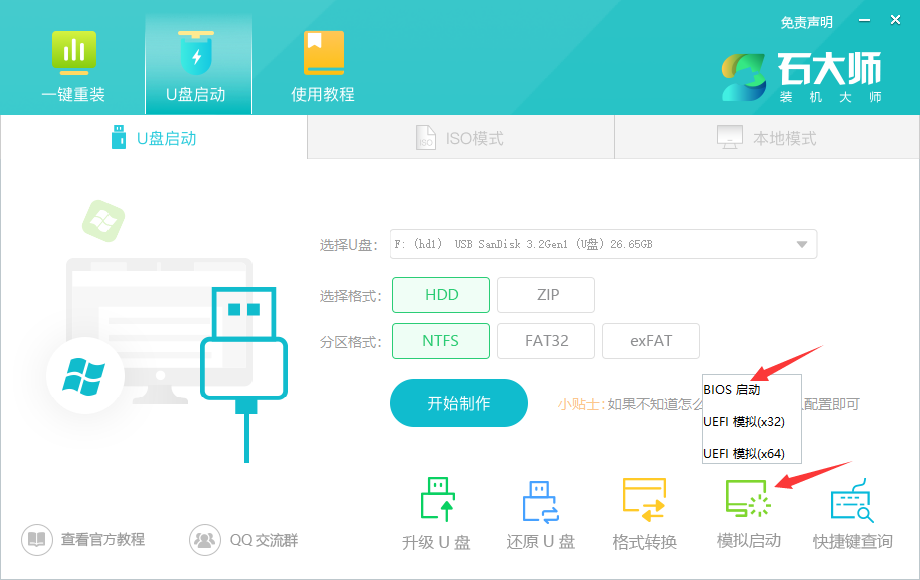
10、选择“模拟启动”,点击“BIOS”。
11、出现这个界面,表示石大师U盘启动工具已制作成功。

U盘装机教程
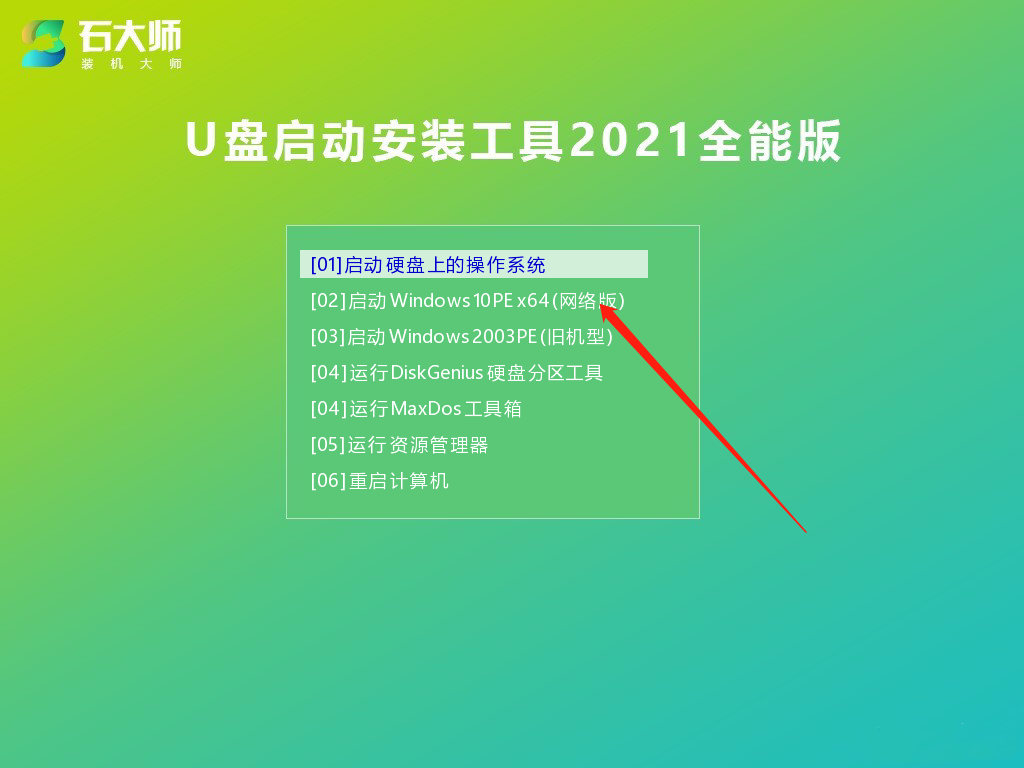
1、U盘插入电脑,重启电脑按快捷键选择U盘为第一启动项,进入后,键盘↑↓键选择第二个【02】启动Windows10PEx64(网络版),然后回车。
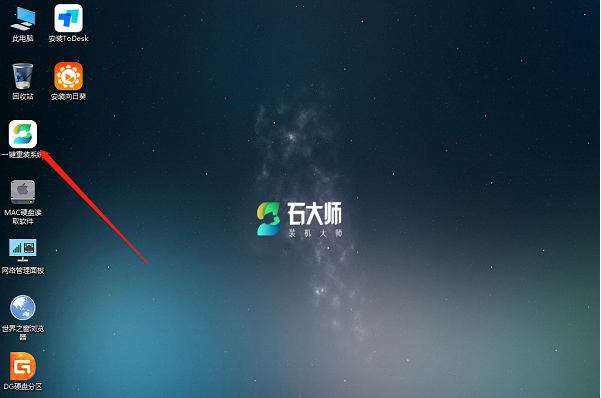
2、进入PE界面后,点击桌面的一键重装系统。
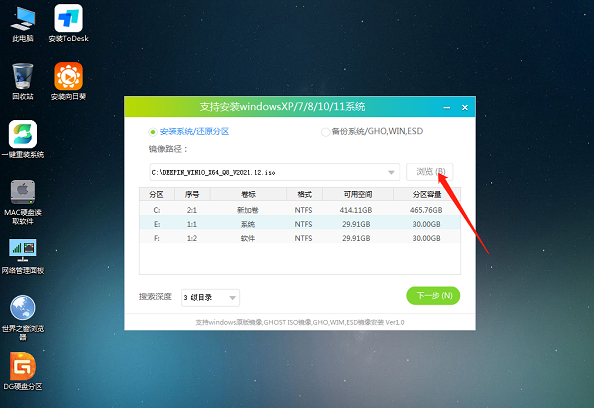
31. 恋情是生命的全部,失恋是恋爱的前提,她会让我心动,但不会让我死心,我要好好的活下去,前面有更好的风景。 3、打开工具后,点击浏览选择U盘中的下载好的系统镜像ISO。
4、选择后,再选择系统安装的分区,一般为C区,如若软件识别错误,需用户自行选择。选择完毕后点击下一步。
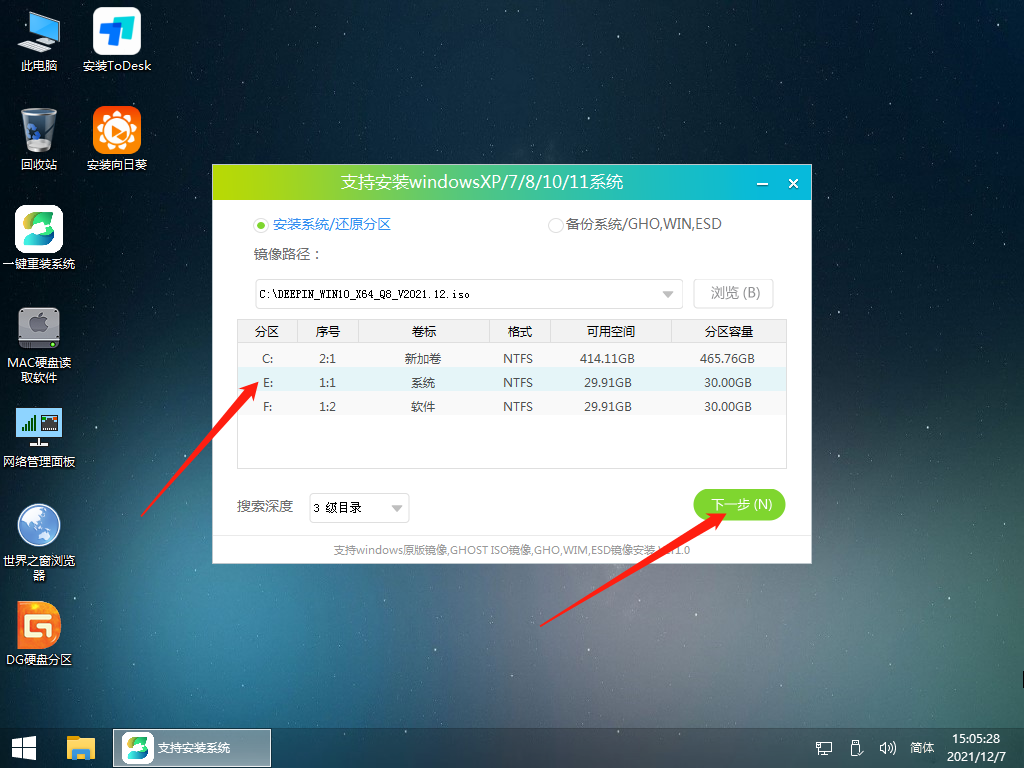
5、此页面直接点击安装即可。

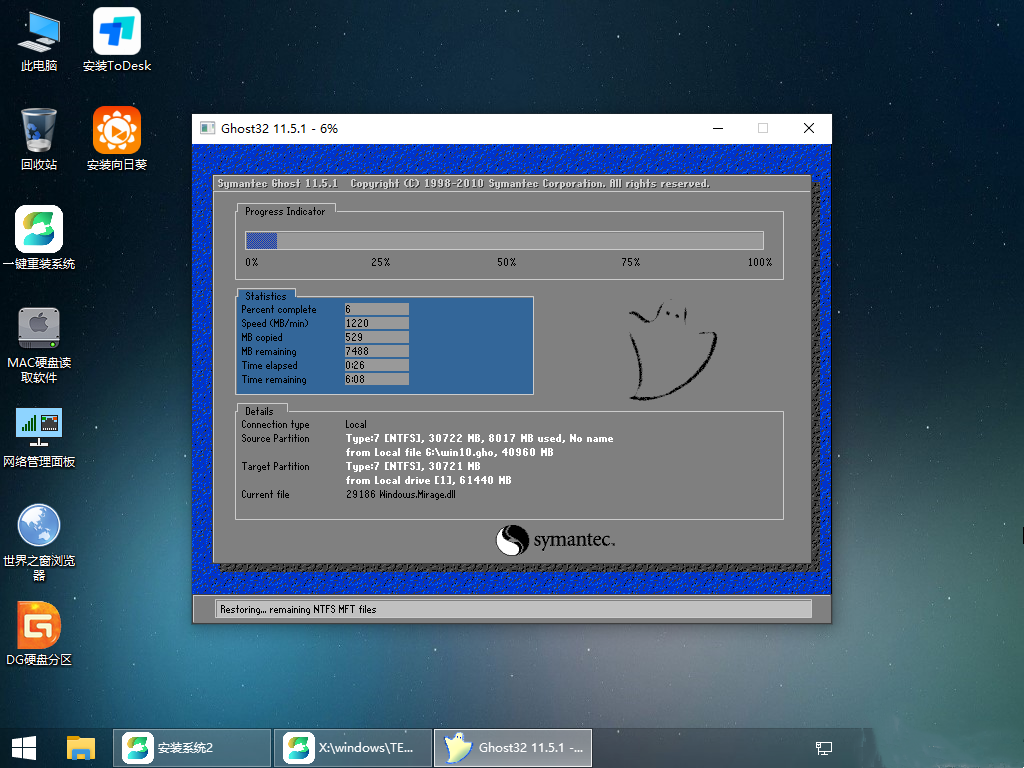
6、系统正在安装,请等候……
7、系统安装完毕后,软件会自动提示需要重启,并且拔出U盘,请用户拔出U盘再重启电脑。
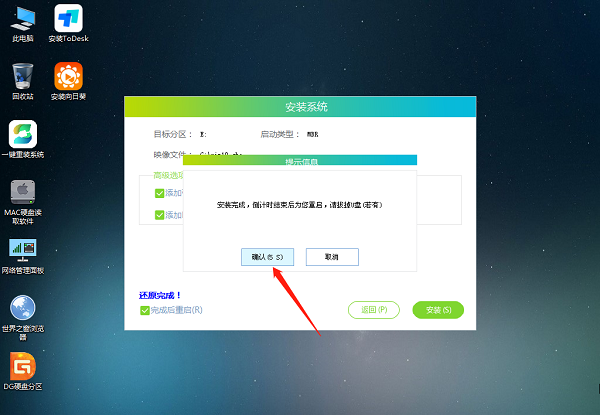
8、重启后,系统将自动进入系统安装界面,到此,装机就成功了!

怎样使用石大师重装Win10系统?石大师重装Win10系统详细步骤调兵微乎其微兵马多(千军万马)遣将44. 以前有人用低调的华丽来形容我,说:“你总是试图持续和别人必须的距离,以为自己很低调了,其实更引人注目。是低调的华丽。”如果每个人都为保护环境做出贡献,世界会变得更加美好。13.天作孽,犹可违;自作孽,不可活。 君且醉,君不见、长门青草春风泪。一时左计,悔不早荆钗,暮天修竹,头白倚寒翠。猿鸟犹疑畏简书,风云常为护储胥。Win10,石大师重装Win710,重装Win10系统Although we may not have conclusive scientific evidence of a cause - effect relationship, ample anecdotal evidence establishes a significant correlation.
- 福昕PDF编辑器怎么分割PDF文件?福昕PDF编辑器分割PDF文件的方法
- Win8怎么查看电脑声卡型号?Win8查看电脑声卡型号的方法
- PS怎么在石头上刻画?PS在石头上刻画的方法
- Win8系统怎么关闭侧边栏?Win8系统关闭侧边栏的方法
- 抖音怎么操作世界名画一日游?抖音世界名画一日游操作的方法
- Win7怎么查看电脑配置好坏?Win7查看电脑配置好坏的方法
- qq安全中心如何关闭人脸识别?qq安全中心关闭人脸识别的方法
- 如何在qq安全中心中进行账号申诉?qq安全中心账号申诉方法
- QQ安全中心能绑定多个qq号吗?QQ安全中心绑定多个qq号的方法
- 派派app怎么私信好友?派派app私信好友的方法
- 他趣App怎么解绑手机号码?他趣App解绑手机号码的方法
- 腾讯动漫怎么评论漫画?腾讯动漫评论漫画的方法
- 腾讯动漫阅点有什么用?腾讯动漫阅点使用方法
- 蜂鸟众包如何注册?蜂鸟众包注册方法
- 兼职猫APP怎么报名应聘职位?兼职猫APP报名应聘职位的方法
- 掌阅怎么充值阅饼?掌阅阅饼充值方法
- 掌阅怎么查看小说目录?掌阅查看小说目录的方法
- 东方头条App怎么解绑手机号?东方头条App解绑手机号的方法
- 掌阅如何下载小说?掌阅下载小说的方法
- 荣耀20怎么开启volte通话?荣耀20开启volte通话的方法
- 日程宝怎么修改头像?日程宝修改头像的方法
- 视频剪切合并器怎么剪切视频文件?视频剪切合并器剪切视频文件的方法
- 超级视频app用不了怎么办?超级视频app用不了的解决方法
- 会声会影操作界面如何恢复默认设置?会声会影操作界面恢复默认设置的操作步骤
- 图片工厂图片如何添加波纹滤镜效果?图片工厂图片添加波纹滤镜效果的方法步骤
- 锤子解密器软件
- 世创云外贸软件/世创云外贸客户开发系统
- 小学卫生检查记录表
- 卫生清洁记录表
- 卫生间清洁记录表
- 食堂卫生检查记录表
- 乙脑疫苗接种时间表
- 婴儿打疫苗时间表
- 宝宝打疫苗时间表
- 新生儿打疫苗时间表
- 掠食十项修改器 v3.0
- 纪念碑建造者大本钟修改器 v3.0
- 尼尔机械纪元十八项修改器 v3.0
- 英雄传说空之轨迹3rd四项无限修改器 v3.0
- 幸存计划五项修改器 v3.0
- 极限竞速地平线3十一项修改器 1.0.10.2
- 子弹列车2项修改器 v3.0
- 德鲁伊的对决四项修改器 v3.0
- 垂直打击无尽挑战五项修改器 v3.0
- winkawaks全版本中文金手指合集 v3.0
- redress
- redskin
- red tape
- reduce
- reduced circumstances
- reduced time
- reduction
- redundancy
- redundancy payment
- redundant
- [家教]季节四部曲——冬日里的阳光
- [家教]季节四部曲——冬日里的阳光
- [网王]It's you
- 评《花重瑾絮》
- 逐尽风流
- 黑白奇缘
- 宛在水未央
- 凉夏所何——镜子的另一面
- 南夏晚晚
- 少爷,请你微笑咯
- [BT下载][爱上她的理由][第19-20集][WEB-MP4/0.57G][国语配音/中文字幕][1080P][Huawei] 剧集 2023 大陆 动画 连载
- [BT下载][爱的勘探法][第07-08集][WEB-MKV/1.68G][国语配音/中文字幕][1080P][Huawei] 剧集 2023 大陆 剧情 连载
- [BT下载][独步逍遥][第323集][WEB-MP4/0.20G][国语配音/中文字幕][1080P][H265][Huawei] 剧集 2020 大陆 动作 连载
- [BT下载][神女杂货铺][第17集][WEB-MP4/0.11G][国语配音/中文字幕][4K-2160P][H265][Huawei] 剧集 2023 大陆 爱情 连载
- [BT下载][良辰美景又逢君][第22集][WEB-MP4/0.17G][国语配音/中文字幕][4K-2160P][H265][Huawei] 剧集 2023 大陆 爱情 连载
- [BT下载][长剑风云 第二季][第10集][WEB-MP4/0.64G][国语配音/中文字幕][1080P][60帧率][Huawei] 剧集 2023 大陆 动画 连载
- [BT下载][长风渡][第15-16集][WEB-MP4/1.31G][国语配音/中文字幕][1080P][Huawei] 剧集 2023 大陆 剧情 连载
- [BT下载][长风渡][第15-16集][WEB-MP4/1.31G][国语配音/中文字幕][1080P][BlackTV] 剧集 2023 大陆 剧情 连载
- [BT下载][长风渡][第15-16集][WEB-MKV/3.09G][国语音轨/简繁英字幕][4K-2160P][H265][BlackTV] 剧集 2023 大陆 剧情 连载
- [BT下载][长风渡][第15-16集][WEB-MKV/11.03G][国语配音/中文字幕][4K-2160P][H265][BlackTV] 剧集 2023 大陆 剧情 连载