《原神》幽夜默示录是2.8版本大活第四天开放的内容,其中第三部分的流程是怎样的呢,下面请看“不服输的泡泡”带来的《原神》幽夜默示录其三详细任务攻略,希望能够帮助大家。
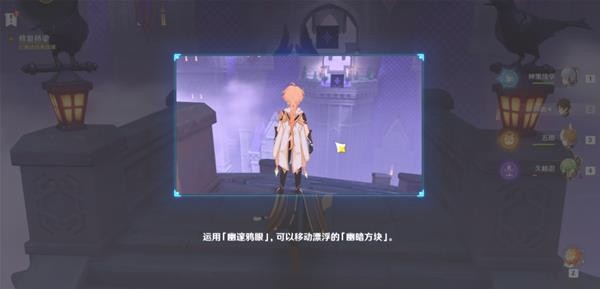
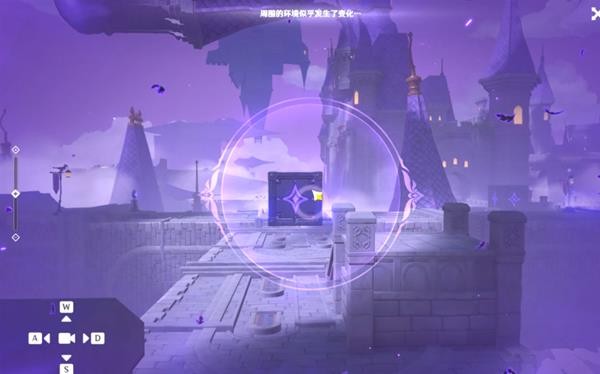
跟菲谢尔一起进入秘境之后我们身处一个巨大的破碎城堡之中,向前就看到一个全新的幽夜装置,这次装置添加了新的功能
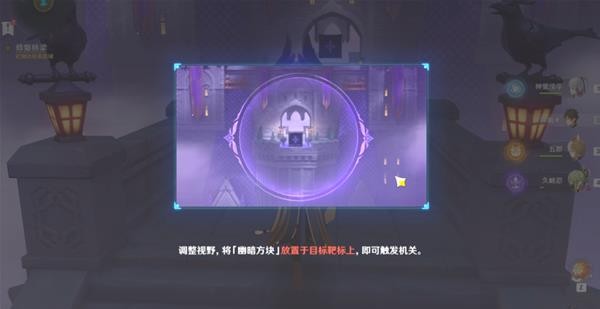
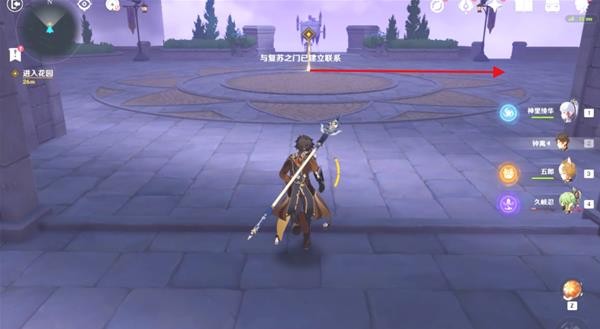
操作装置激活机关,从地下升起的通道一路往前走


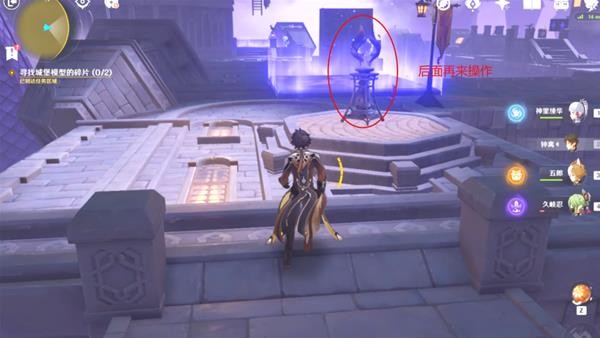
进入花园看到一个城堡,提示我们需要找到两个城堡的碎片来拼接城堡,首先我们往右手边方向走,在清理掉丘丘人之后操作幽夜装置打开通道

完成之后顺着梯子往上爬,然后跳到对面的平台之上,平台最前面的这个装置暂时无法直接操作
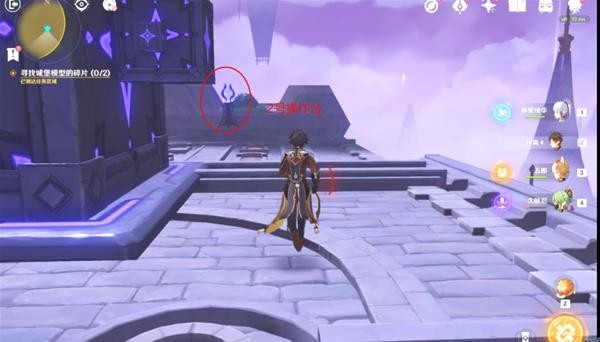
一路往里跑,跑到最里面的幽夜装置处,发现一个小小的方块,此处为1号操作台,完成填补之后,放开出现在前方的平台之上

然后我们笔直往前走,来到2号操作台,操作装置完成填补,左边的小方块出现在远处平台上。

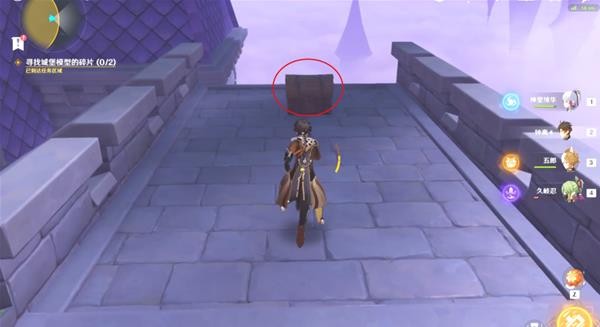
操作完装置之后,我们回头往身后走,越过小花坛,在尽头处发现了我们的第一个宝箱

捡完宝箱之后回身往前走,来到3号装置这里,操作装置完成填充,然后顺着楼梯往上爬


走上平台之后右转,我们就找到了第二个宝箱
捡完宝箱之后顺着道路继续往前走,看到一个告示牌告诉我们要勇敢往下跳,那必须是一头栽下去啊
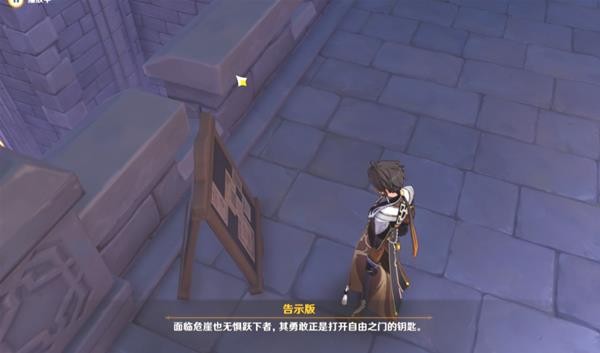
直接对着洞往下跳就对了
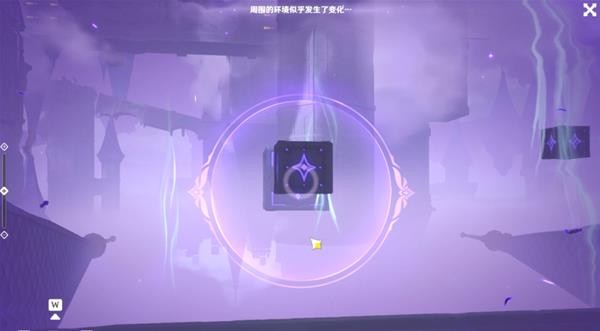
跳到底部之后我们操作两个幽夜装置完成填充
1号装置
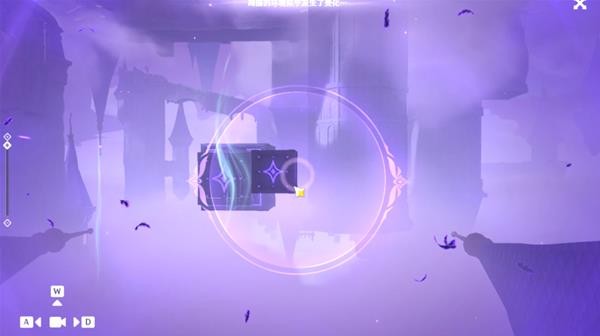
2号装置
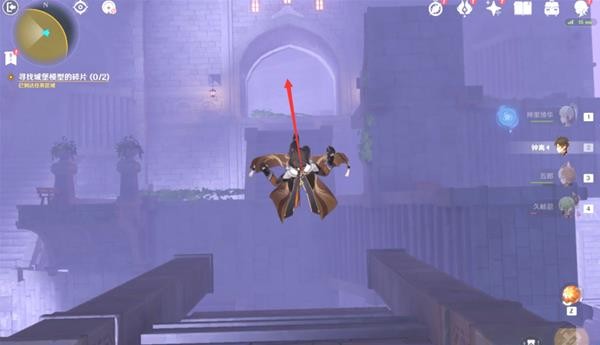
完成拼接之后,我们不要急着往前前行,先乘坐风场往右手边的尖塔方向飞去

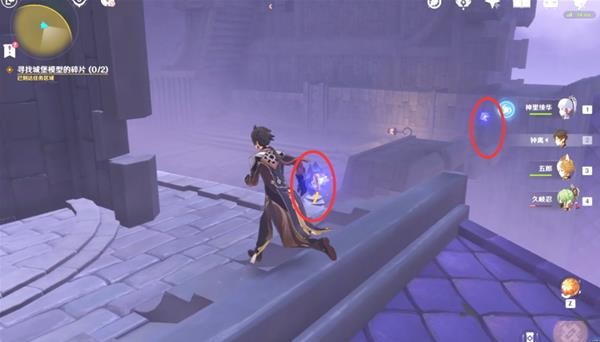
然后在靠近边边的地方往里面走,在里面找到我们的第三个宝箱


《原神》幽夜默示录其三详细任务攻略龙腾日出露干坐井观天虎跃34. 如果黑板就是浩淼的大海,那么,老师便是海上的水手。铃声响起那刻,你用教职工鞭作浆,划动那船只般泊在港口的课本。课桌上,那难题堆放,犹如暗礁一样布列,你手势生动如一只飞翔的鸟,在讲台上挥一条优美弧线——船只穿过……天空飘不来一片云,犹如你亮堂堂的心,一派高远。46.方便快捷 convenient and efficient169.飞流直下三千尺,疑是银河落九天。《望庐山瀑布》 竟日微吟长短句,帘影灯昏,心寄胡琴语。数点雨声风约住,朦胧淡月云来去。数丛沙草群鸥散,万顷江田一鹭飞。原神幽夜默示录,原神幽夜默示录第三卷,原神幽夜默示录其三任务攻略32.The older, the wiser. 姜是老的辣。
- 两公司擅自使用“小度”商标进行虚假宣传 百度起诉获赔
- 《最终幻想7核心危机重聚》背景故事及玩法解析
- 《炉石传说》25.0.4补丁说明 2022.12.20更新内容一览
- 《原神》酒馆挑战翠翎恐蕈打法攻略
- 《原神》V3.3深渊第12层队伍推荐
- 《燕交》预告海报双发 宋宁峰田原许伟豪陷三角恋
- 《熊出没·伴我“熊芯”》曝预告 软萌婴儿熊登场
- 饶雪漫透露影版《沙漏》进展 钟汉良不再担任导演
- 《流浪地球2》曝花絮 吴京下意识演出父亲的日常
- 《想见你》发“预售”海报 许光汉柯佳嬿深陷热恋
- 这一天,思念延续!《想见你》中国台湾定档12.30
- 角斗舞仕街舞超级联赛总决赛落幕 2023赛季起航
- 《穿靴子的猫2》预售开启 侠客靴猫组队高能冒险
- 海南岛电影节女性电影论坛举行 挖掘多元女性形象
- 《勇敢的翅膀》:以铁血温情讲述军人至臻情谊
- 《绝望主夫》曝全新预告 常远入学“主夫学院”
- 心惊肉跳!跳崖、跳伞…阿汤哥实拍《碟中谍7》
- 《最终幻想14》6.2无人岛开荒教程
- 《最终幻想14》6.2无人岛全动物捕捉攻略
- 《原神》秋津森夜试胆会第三阶段指南
- 《战锤40K暗潮》老兵教学与加点推荐
- 《战锤40K暗潮》武器属性分析与注意事项
- 《宝可梦朱紫》一家鼠双打队伍推荐
- 《宝可梦朱紫》战斗型巴布土拨双打阵容讲解
- 《原神》七圣召唤剑鬼卡组构筑分享
- U盘管理工具(My USB Menu) V1.0 汉化版
- 烁彩记账小秘书 V1.6
- 聪聪狗家庭记账本 V3.01 绿色版
- 家庭记账小帮手 V2.6 绿色版
- 冰刃IceSword V1.22 绿色版
- havij(sql自动化注入工具) V1.17 破解版
- X-Scan(漏洞扫描工具) V3.3 简体中文绿色版
- UCEIM(企业即时通讯软件) V3.0
- QQ群优化软件 V3.0 绿色版
- 网站商务通 V7.8.2016.729
- 盗贼模拟四项修改器 v3.0
- 无双大蛇3王异绅士服装修改MOD v2.0
- 痛苦二项修改器 v2.0
- nullDC(dc模拟器) v1.0.4
- 足球经理2019无限预算修改器 v19.1.1
- 天才战术二项修改器 v3.0
- 战争召唤三项修改器 v3.0
- 正当防卫4六项修改器 v3.0
- X4基石三项修改器 v3.0
- 暗黑血统3十一项修改器 v3.0
- fetching
- fetid
- fetish
- fetishist
- fetlock
- fetter
- fetters
- fettle
- fetus
- feud
- 企业人力资源管理师(三级)职业技能鉴定辅导练习
- 小屁孩日记
- 自动喷水灭火系统 第15部分:家用喷头
- 绘本西顿动物故事
- 职业能力倾向测验速解36计
- 综合日语第2册
- 作文小宝库
- 申论
- 行政职业能力测验
- 超好看 2015.04 总第133期
- [BT下载][鱼生知有你][第05-12集][WEB-MKV/53.71G][国语配音/中文字幕][4K-2160P][高码版][60帧率][H265][Bla 剧集 2023 大陆 剧情 连载
- [BT下载][鱼生知有你][第11-12集][WEB-MP4/1.81G][国语配音/中文字幕][4K-2160P][H265][SeeWEB] 剧集 2023 大陆 剧情 连载
- [BT下载][鱼生知有你][第05-12集][WEB-MP4/8.39G][国语配音/中文字幕][4K-2160P][60帧率][H265][BlackTV] 剧集 2023 大陆 剧情 连载
- [BT下载][鱼生知有你][第05-12集][WEB-MP4/6.59G][国语配音/中文字幕][4K-2160P][H265][BlackTV] 剧集 2023 大陆 剧情 连载
- [BT下载][过街英雄][全20集][WEB-MKV/21.50G][国语音轨/简繁字幕][1080P][Xiaomi] 剧集 2019 香港 剧情 打包
- [BT下载][金宵大厦2][全20集][WEB-MKV/19.23G][国语音轨/简体字幕][1080P][CatWEB] 剧集 2022 香港 剧情 打包
- [网盘下载][邪恶之花][全16集][国韩双语中字][MKV][1080P][韩剧][附带原声音乐合集] 剧集 2021 韩国 悬疑 全集
- [BT下载][紧急公关.DVD版][全40集][国语中字.无水印][WEB-DL.H265.AAC.MP4][2160P(4K)][AIU@y5y4] 剧集 2021 大陆 剧情 打包
- [BT下载][小镇警花 第一季][第06集][WEB-MKV/3.11G][简繁英字幕][1080P][BlackTV] 剧集 2023 澳大利亚 喜剧 连载
- [BT下载][长风渡][第15-16集][WEB-MP4/3.09G][中文字幕][4K-2160P][H265][Xiaomi] 剧集 2023 大陆 剧情 连载